We got a small project that involved a client’s rebranding. Since we work with a lot of industrial and car-related clients, we often have to work with large inventories.
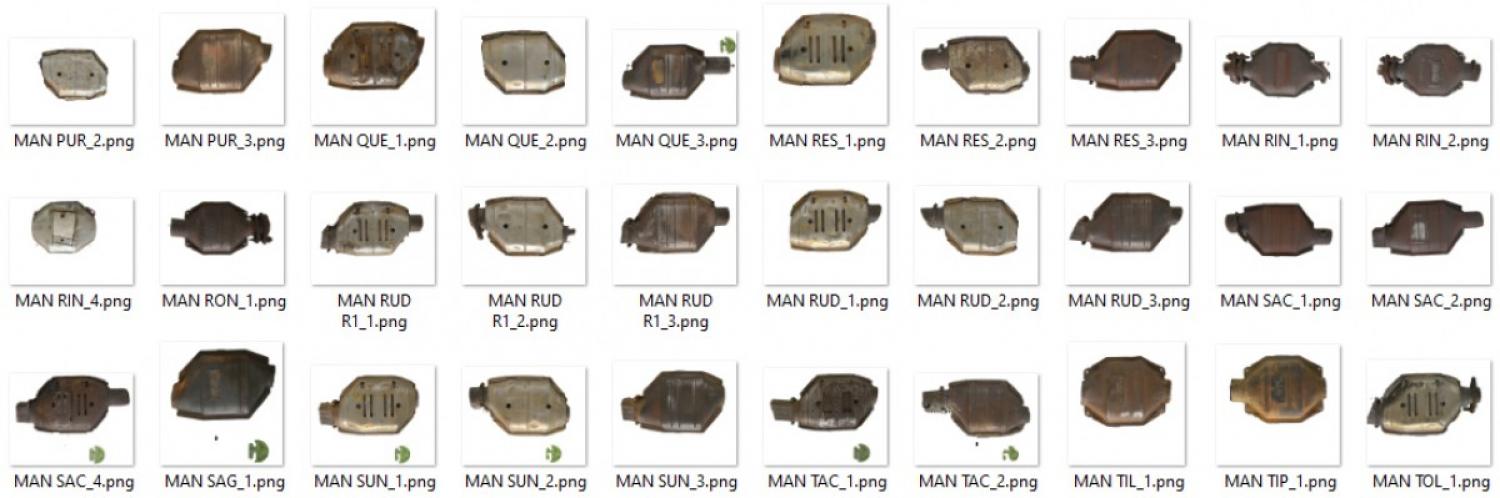
In this particular case, the client had some 11,782 images that had physical items placed on a paper (plastic?) background with their logo printed on it. Unfortunately, since they were going through a rebranding process, we were tasked with finding a solution for removing the old background / logos.
Researching the Options
Outsourcing
My first thought was to go out and look for existing services that might offer a solution. Since this was a labour intensive job, my immediate thoughts were services like:
- Fiverr
- Upwork
- Reddit (r/slavelabour)
- MTurk
- TaskRabbit
Basically, anywhere that would allow me to hire out the project to an overseas contractor. I also just straight-up posted the job on Reddit forums to see what kind of pricing I could get.
I got a pretty large range in terms of prices, but generally speaking I was looking at around $0.40 USD per image. Not terrible but not great, considering I had almost 12k images to deal with.
Services
Next, I just decided to search for “remove images backgrounds” to see what Google would pull up. To my surprise, there were a couple of companies out there that offered more automated solutions based on AI technology.
I ended up doing some research on a few companies and focused on the ones with API capabilities:
- Remove.bg
- Slazzer
- Removal.ai (flagged – read my notes below)
- JumpStory (no API option)
- Adobe Spark
These prices weren’t bad. Remove.bg and Slazzer were my two top options since they had demos that you could try and see the results. They also had clear API instructions and a solid backing from the online community.
I ended up trying out JumpStory as well (signed up for the free trial) and was disappointed to find that their tool was slow and lacked an API option. I ended up canceling before the payment kicked in.
An important note about Removal.ai. They were my top option at one point based simply on their pricing. Their site also looked very clean and legitimate and their technology seems to be based on the same AI modeling as Remove.bg and Slazzer. They also had the same test tool which worked well.
As I dug deeper, however, red flags started showing up. In the footer, the “Press” section doesn’t go anywhere, whereas Slazzer made headlines a few months ago with their successful launch on ProductHunt.com and PitchGround.com.
I was primarily interested in their API. Their site says that I can try out 50 images for free but I could not find any instructions nor a place to create an API key
I eventually realized that the text describing their API was pretty much lifted from Remove.bg which has clear instructions on how to create and use an API key with their service.
All that to say that Removal.ai quickly dropped off my list.
Remove.bg was the front runner and well documented with a solid following, however, Slazzer was simply cheaper for the bulk of images I had to work with.
My mind was pretty much made up but I wanted to dig just a little deeper.
Community Feedback
Back on Reddit, I had posted a separate thread to get feedback from the community to see if they had any suggestions.
People were messaging me with rates as low as $2,000 USD to do the whole batch by hand. Others were suggesting some of the AI options I had listed above. A few comments piqued my interest though. They mentioned hiring out a programmer to script the work for me and run the AI models directly, without going through the paid APIs.
“But wait”, I thought, “I’m a programmer!”. And thus began a deep rabbit hole that ate up three nights of sleep.
The Good Stuff
1. Technical Background
I started looking at open source projects to see what I could find for “AI background removal”. I eventually ended up on GitHub. In retrospect, it would have been much smarter for me to have started on GitHub but, whatever.
I looked at a few projects and ended up looking closely at U-2-Net-Demo by shreyas-bk since it didn’t use a third party (paid) API and was well documented. Also… they came up second in my search on GitHub, so there’s that.
The “demo” repo is actually a documented example of how to use the “U-2-Net” repo. It was a little confusing for me at first since there was a lot of new technology that I hadn’t played with before. Eventually, I figured out the tech stack:
- Google Colab (Colaboratory)
- Jupyter Notebook
- Python
- Tensorflow
- GitHub
Of the technologies above, I really only had limited experience with GitHub and Python. I had never even heard of Jupyter Notebook and had only vaguely heard about Colab and Tensorflow.
The first thing to note was the .ipynb extension on the files in the repo. I had no idea what this extension was so I did a quick search and came across Jupyter Notebook.
I’m still very new to all this (feel free to leave me comments to correct me) but my understanding is that it is a development environment which functions as a kind of virtual machine. There is an option for a web-based interface which seems to encompass code, a simple file system, and a pseudo operating system.
The reason for the ipynb extension is because the project used to be called “IPython Notebook”. The name was changed to Jupyter Notebook and Google’s Colab simply supports this file format.
The nice thing about Google Colab is that, because it's a Google product, it plays nicely with Google Drive. This came in super handy when it came time to export files from my test project back into a space that allowed me to download thousands of files at a time.
2. Setting Up My Project
Once I had a better understanding of what I was looking at, the U-2-Net demo repo made a LOT more sense.
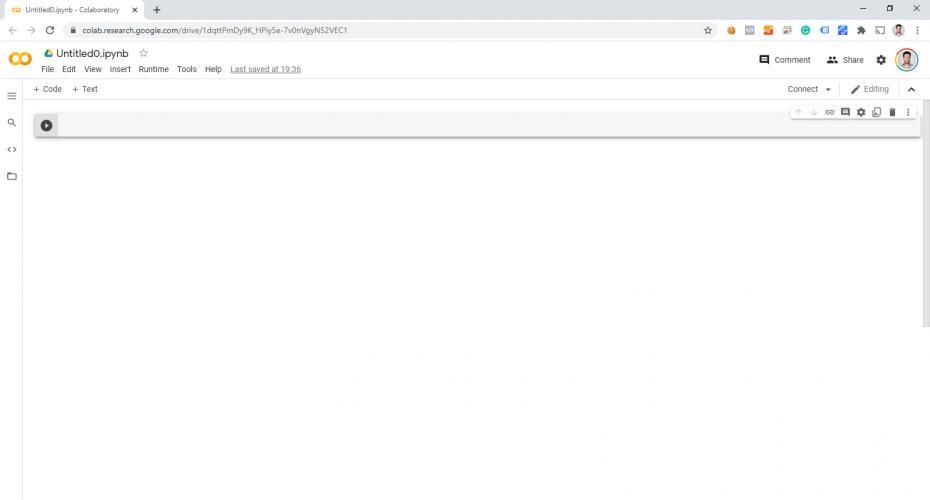
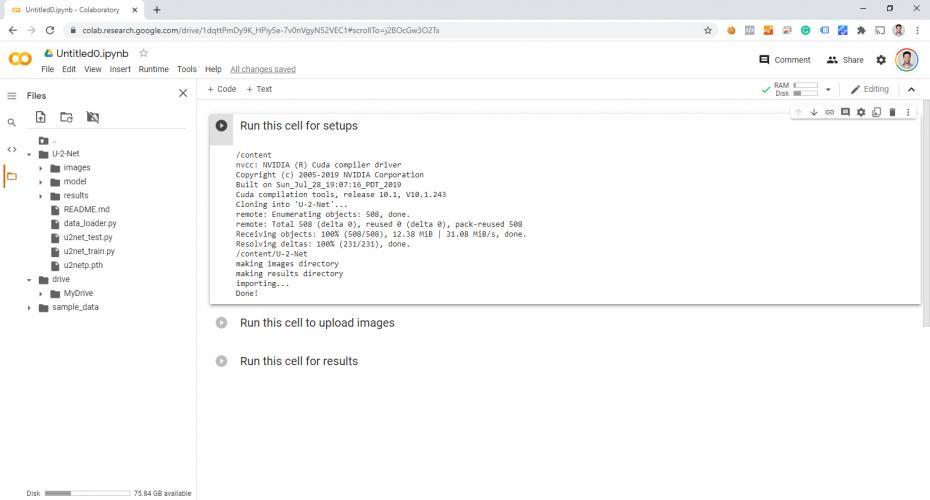
I set up an account on Colab and opened up a blank file:
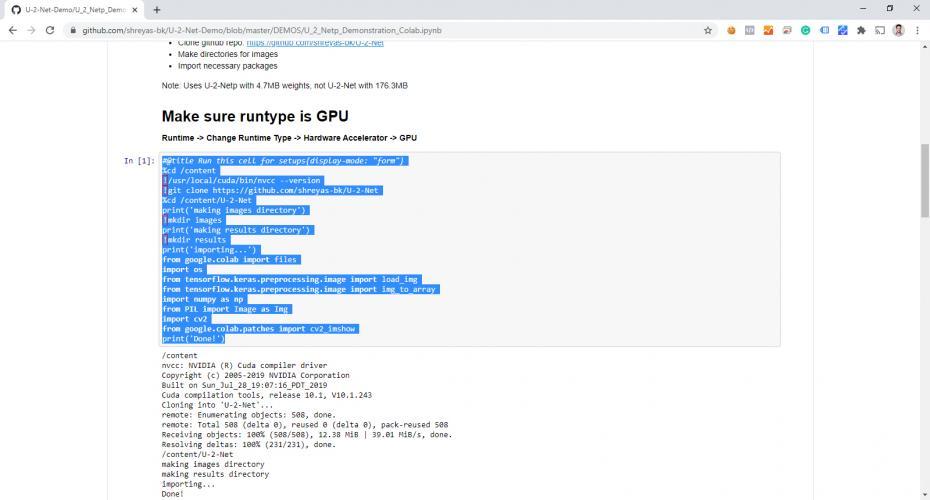
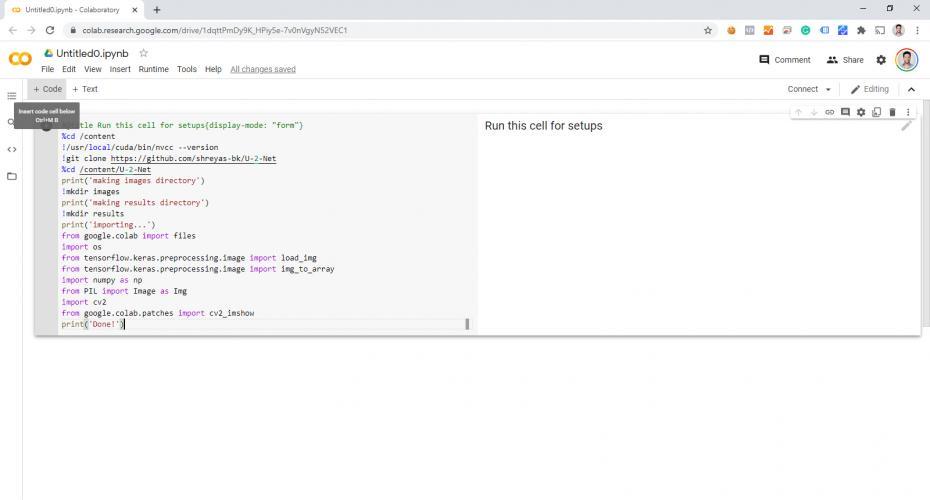
Then I copied the code from the (demo) repo:
And pasted it into the first code block on Colab:
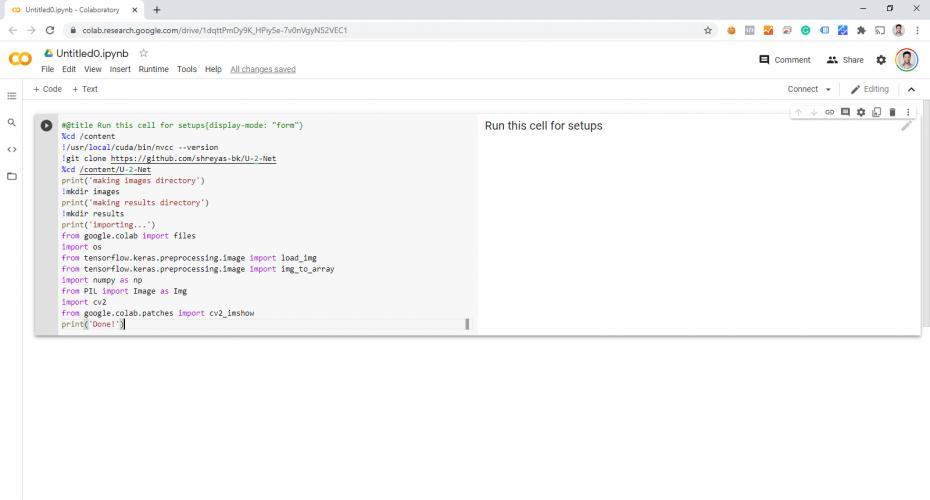
Repeat for other code blocks:

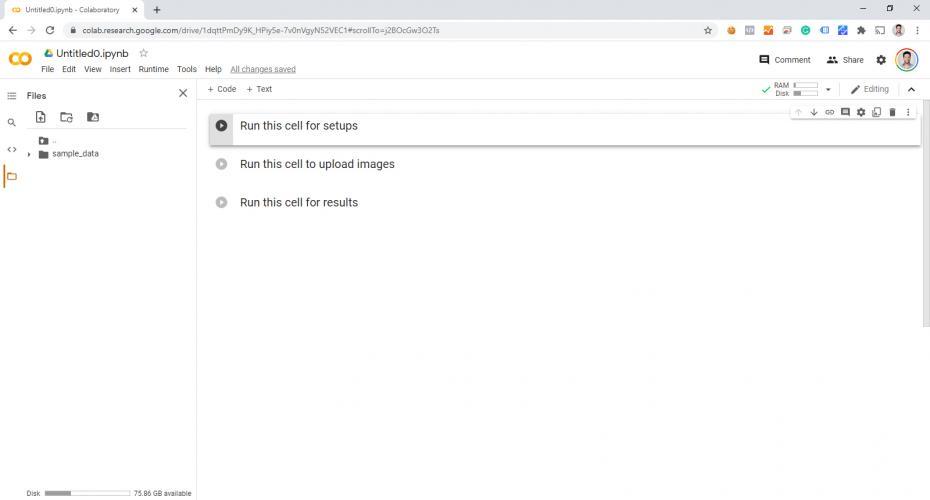
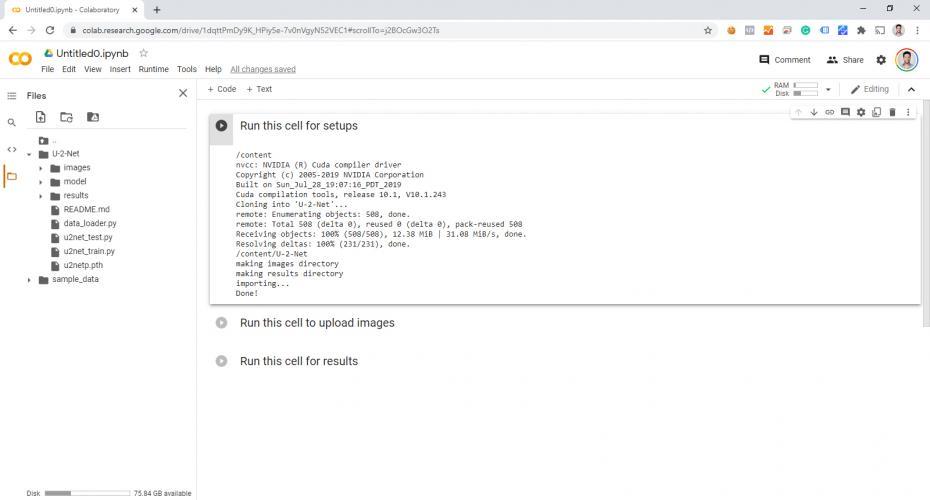
Run the first code snippet to do the initial setup (cloning from GitHub). Notice the files on the left-hand side:
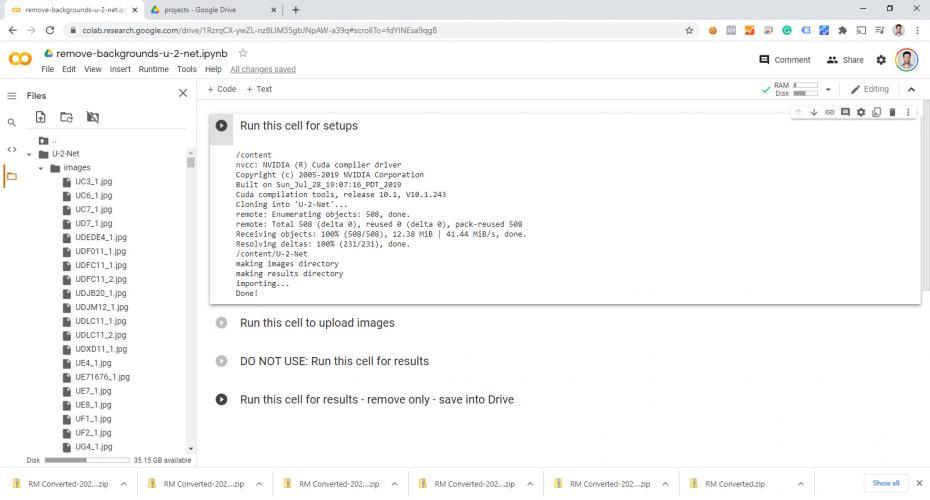
For my purposes, I also connected up my Google Drive by clicking on the “Drive” icon near the top-left:
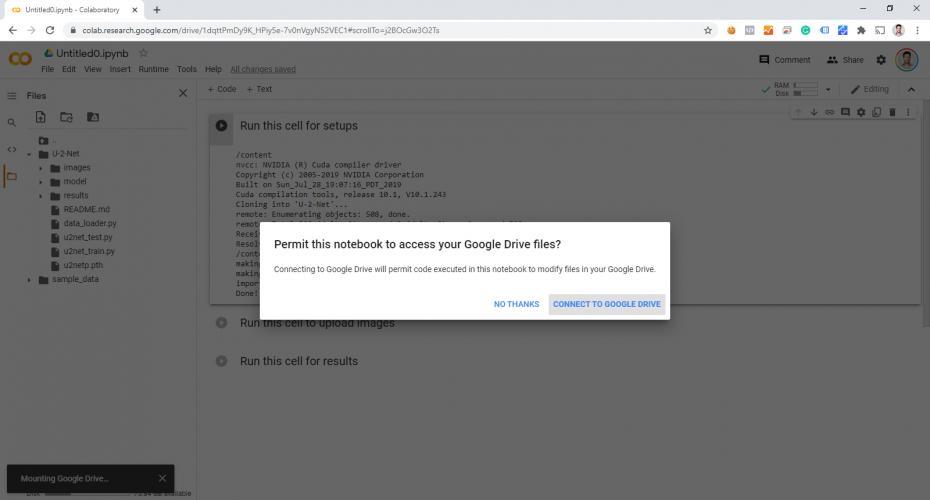
Note the “Drive” > “MyDrive” folders appearing in the file structure to the left:
Since we’re importing so many images, I simply uploaded my files into the “images” folder (by dragging them from my computer, instead of one at a time through the demo tool):
I also copied the original “Run this cell for results” script, then modified it for my purposes.
The original script not only removed the background but created a four-cell example output image that shows everything it did. Instead, I removed the code that does anything other than isolate and key-out the background.
I also modified the output to simply copy the resulting image, with the background removed, to a folder instead of displaying it. My first run, I learned the hard way that my computer wasn’t too happy trying to display thousands of keyed images.
Since I hooked up my Google Drive account, I could output the files directly to Drive so that I can download them all as a .zip file:
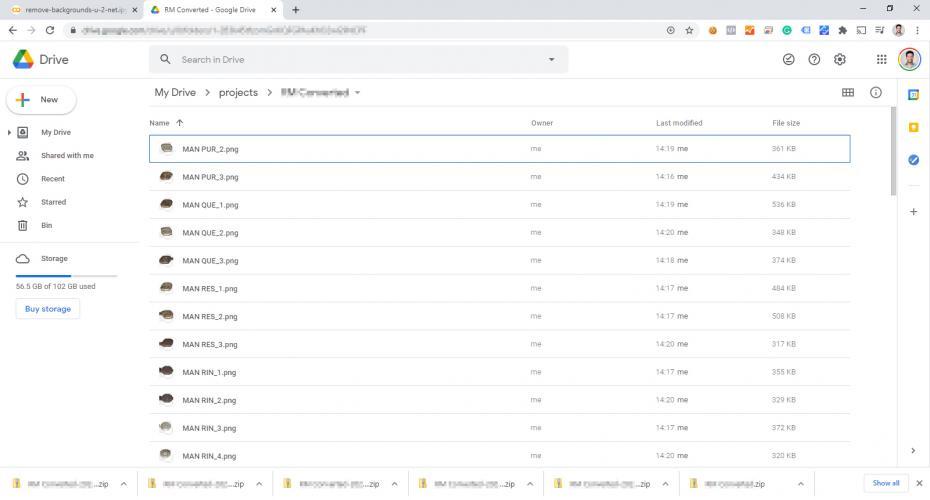
And there you have it! I managed to convert 11,782 images using AI for free. While Colab’s free option does have its limitations, this operation still didn’t get anywhere near pushing the limits of my account.
Closing Notes
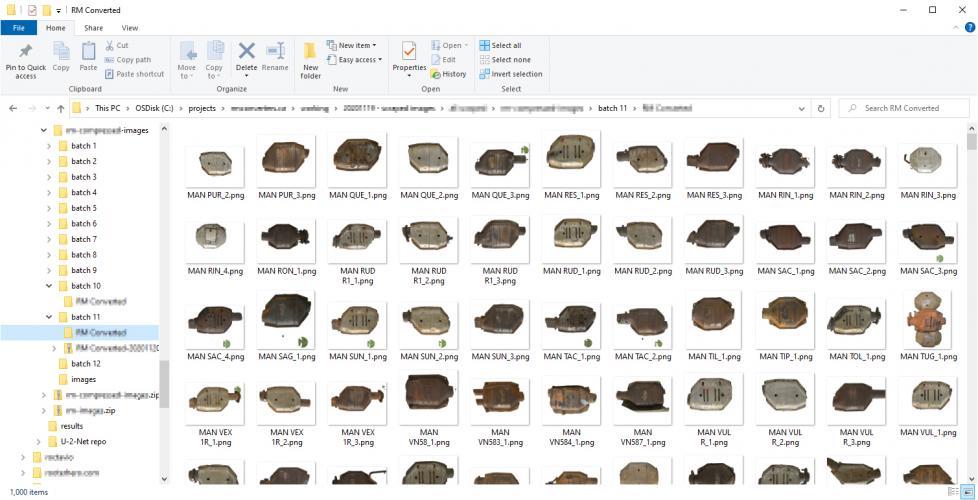
It’s also worth noting that I wasn’t able to do the entire 11,782 batch in one shot. I was doing batches of 1,000 images at a time and I had to clear out Colab each time and reattach Google Drive. There was also a bit of a lag between downloading the .zip files, clearing out the folder, and getting Colab to sync the differences up on its file system.
Eventually, I figured out that the best thing to do was to “rename” the “images” folder on the Colab side and recreate the “images” folder to upload the next batch of images. I found this faster and more straight forward than trying to reload Colab.
I also noticed that renaming the output folder from the Colab side updated the Google Drive side a lot faster than the other way around. This was another small workaround to speed up the processing, instead of waiting for the filesystem on Colab to catch up or trying to reload Colab and having to reconnect Drive after each batch.
The output was also not perfect. I ended up having to go back through quite a few files in Photoshop to remove any left-over artifacts that the AI didn’t fully catch. Still, it’s worth noting that this option didn’t seem to be any worse than what the paid algorithms were offering AND this method still did 95% of the heavy lifting.
On a personal note, I’m also glad I had the chance to play around with Google Colab and Tensorflow, even though I didn’t really do any “AI programming”.